Kitchen spray paint Transforming your kitchen doesn’t always require a full remodel. Sometimes, all it takes is a fresh coat of paint to breathe new life into your space. Kitchen spray paint offers a quick, cost-effective solution to revitalize your cabinets, walls, and other surfaces. In this comprehensive guide, we’ll explore everything you need to know about kitchen spray paint, from selecting the right type to achieving a flawless finish. By the end of this article, you’ll be equipped with the knowledge and confidence to transform your kitchen into a space you’ll love Kitchen spray paint.

Benefits of Kitchen Spray Paint
Using kitchen spray paint comes with several advantages:
Cost-Effective
Compared to replacing cabinets or countertops, spray painting is a budget-friendly option.
Quick Transformation
Spraying paint allows for a faster application process compared to traditional brushing and rolling.
Smooth Finish
Achieve a professional-looking, smooth finish with minimal effort.
Versatility
Suitable for various surfaces, including wood, metal, and laminate.
Customization
Easily change the colour and style of your kitchen to match your preferences.
Choosing the Right Kitchen Spray Paint
Selecting the appropriate kitchen spray paint is crucial for achieving the desired results. Here are some factors to consider:
Types of Spray Paint
Acrylic
Water-based and fast-drying, ideal for wood and metal surfaces.
Enamel
Provides a durable, glossy finish, suitable for high-traffic areas.
Chalk Paint
Offers a matte, vintage look, perfect for a rustic kitchen design.
Lacquer
Delivers a hard, durable finish, commonly used for cabinets and furniture.
Colour Selection
Choosing the right colour can make a significant difference in your kitchen’s appearance. Consider the following:
Neutral Colours
White, beige, and grey create a timeless, clean look.
Bold Colours
Navy, emerald green, or black can add drama and sophistication.
Complementary Colours
Match your paint colour with your existing kitchen decor for a cohesive look.
Finish Options
Matte
Non-reflective, hides imperfections.
Satin
Slight sheen, easy to clean.
Gloss
High shine, very durable, highlights details.
Preparing Your Kitchen for Spray Painting
Preparation is key to a successful kitchen spray paint projectFollow these steps to make sure your surfaces are properly prepared:
Cleaning
Remove Grease and Grime
Use a degreaser or a mixture of water and vinegar to clean all surfaces.
Sand the Surface
Lightly sand to remove any existing gloss and create a surface for the paint to adhere to.
Priming
Choose the Right Primer
Match your primer to the type of spray paint you’re using (e.g., oil-based primer for enamel paint).
Apply Evenly
Use a spray primer for an even base coat.
Protecting Surroundings
Cover Floors and Countertops
Use drop cloths or plastic sheeting to protect areas not being painted.
Tape Off Edges
Use painter’s tape to cover edges and hardware.
Step-by-Step Guide to Applying Kitchen Spray Paint
Step 1: Gather Your Supplies
Kitchen spray paint
Primer
Sandpaper
Cleaning supplies
Painter’s tape
Drop cloths
Spray gun (if using a canister system)
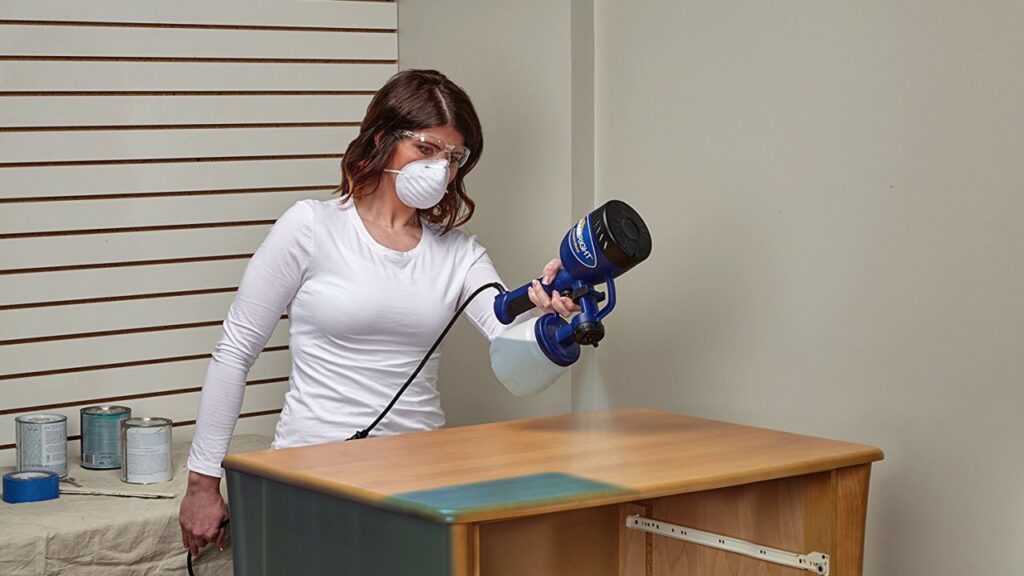
Respirator mask
Step 2: Set Up Your Work Area
Ventilation
Make sure the area is well-ventilated to prevent inhaling fumes.
Lighting
Good lighting helps you see the surfaces clearly.
Step 3: Apply Primer
Shake Primer Can
Shake well to ensure even distribution.
Spray Evenly
Hold the can or spray gun about 12 inches from the surface and apply in a sweeping motion.
Drying Time
Let the primer dry as per the manufacturer’s instructions.
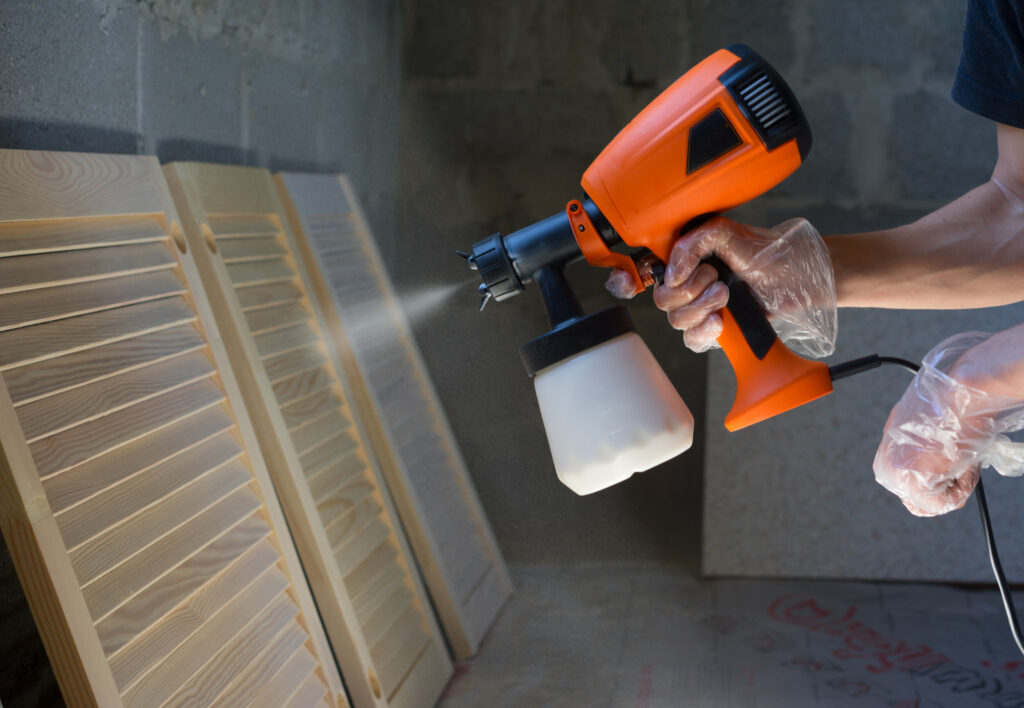
Step 4: Apply Kitchen Spray Paint
Shake Paint Can
Shake well before use.
Test Spray
Do a test spray on a piece of cardboard to ensure an even spray pattern.
Apply First Coat
Hold the can or spray gun about 12 inches from the surface and spray in a steady, sweeping motion.
Drying Time
Allow the first coat to dry completely.
Apply Additional Coats
Repeat the process until you achieve the desired coverage and colour depth.
Step 5: Finishing Touches
Inspect for Touch-Ups
Check for any missed spots or uneven areas and touch up as needed.
Remove Tape
Carefully remove painter’s tape before the paint fully dries to avoid peeling.
Tips for a Professional Finish
Consistent Distance
Keep a consistent distance from the surface to achieve even coverage.
Light Coats
Apply multiple light coats instead of one heavy coat to prevent drips and runs.
Smooth Strokes
Apply smooth, even strokes to attain a flawless finish.
Patience
Allow adequate drying time between coats to avoid smudging and uneven texture.
Common Mistakes to Avoid
Skipping Primer
Always apply a primer to guarantee the paint adheres properly.
Rushing the Process
Take your time with each step for the best results.
Ignoring Safety
Wear a respirator mask and ensure proper ventilation to protect yourself from fumes.
Overloading the Spray Gun
Avoid overfilling the spray gun to prevent uneven application.
Maintenance and Longevity
To keep your kitchen spray paint looking fresh, follow these maintenance tips:
Regular Cleaning
Wipe down surfaces with a damp cloth to remove dust and grease.
Avoid Harsh Chemicals
Use mild cleaning agents to prevent damage to the paint.
Touch-Up as Needed
Keep a small amount of leftover paint for touch-ups in case of chips or scratches.
Frequently Asked Questions (FAQs)
Q: Can I use kitchen spray paint on any surface?
Kitchen spray paint can be used on various surfaces, including wood, metal, and laminate. However, ensure you choose the right type of paint for each surface for the best results.
Q: How long does kitchen spray paint last?
With proper preparation and maintenance, kitchen spray paint can last for several years. Regular cleaning and avoiding harsh chemicals will help prolong its life.
Q: Is it necessary to use a primer before applying kitchen spray paint?
Yes, using a primer is essential to ensure the paint adheres properly and provides a smooth, even finish.
Q: Can I spray paint over existing paint?
Yes, you can spray paint over existing paint, but it’s crucial to sand and prime the surface first to ensure proper adhesion.
Q: How do I prevent drips and runs when using kitchen spray paint?
Apply multiple light coats instead of one heavy coat, and maintain a consistent distance from the surface to prevent drips and runs.
Q: Can I use kitchen spray paint on countertops?
While it’s possible to use spray paint on countertops, it’s not recommended for high-traffic areas due to durability concerns. Consider specialised countertop refinishing products instead.
Q: How do I clean spray-painted kitchen cabinets?
Use a damp cloth and mild cleaning agents to clean spray-painted kitchen cabinets.Steer clear of abrasive cleaners that could harm the paint.
Q: Can I change the colour of my kitchen cabinets with spray paint?
Yes, kitchen spray paint is an excellent option for changing the colour of your cabinets. Ensure proper preparation and choose a paint designed for cabinetry.
Q: What should I do if I make a mistake while spray painting?
If you make a mistake, allow the paint to dry completely, sand the area smooth, and reapply the paint. Patience and meticulousness are essential.
Q: Is kitchen spray paint safe to use indoors?
Yes, but ensure proper ventilation and wear a respirator mask to protect yourself from fumes. Follow the manufacturer’s safety guidelines for indoor use.
Conclusion
Kitchen spray paint offers a versatile, cost-effective way to transform your kitchen. With the right preparation, tools, and techniques, you can achieve a professional-looking finish that breathes new life into your space. Whether you’re updating cabinets, walls, or other surfaces, this guide provides the essential steps and tips to help you succeed. Embrace the power of kitchen spray paint and enjoy a refreshed, vibrant kitchen that reflects your style and creativity.