Spray paint kitchen Are you looking to breathe new life into your kitchen without the expense and hassle of a full renovation? Spray painting your kitchen is an effective and affordable way to achieve a stunning transformation. In this comprehensive guide, we will walk you through everything you need to know to successfully spray paint your kitchen, from selecting the right materials to applying the paint and maintaining the results. By the end of this guide, you’ll be ready to revamp your kitchen with confidence using spray paint Spray paint kitchen.
Why Choose Spray Paint for Your Kitchen?
Spray paint is a popular choice for kitchen makeovers due to several key benefits:
Cost-Efficiency
Spray paint is a budget-friendly option compared to replacing cabinets or countertops.
Quick Application
The spray painting process is faster than traditional painting methods.
Smooth Finish
Spray paint delivers a smooth, even finish that can mimic professional results.
Versatility
Suitable for various surfaces, including wood, metal, and laminate.
Customization
Easily change the colour and finish to match your style preferences.
Choosing the Best Spray Paint for Your Kitchen
Choosing the right spray paint is crucial for achieving the best results. Here’s what you need to consider:
Types of Spray Paint
Acrylic Spray Paint
Water-based, dries quickly, and is ideal for wood and metal surfaces.
Enamel Spray Paint
Provides a durable, glossy finish, suitable for high-traffic areas.
Chalk Spray Paint
Offers a matte, vintage look, great for a rustic or shabby chic style.
Lacquer Spray Paint
Delivers a hard, durable finish, commonly used for cabinets and furniture.
Colour Selection
The colour you choose can dramatically impact your kitchen’s appearance. Consider these options:
Neutral Shades
Colours like white, beige, and grey create a timeless and clean look.
Bold Hues
Vibrant colours such as navy blue, emerald green, or deep red can add a dramatic effect.
Complementary Colours
Choose colours that match or complement your existing kitchen decor for a cohesive look.
Finish Options
Matte
Non-reflective finish that helps conceal imperfections.
Satin
A subtle shine that is simple to clean and care for.
Gloss
High-shine finish that highlights details and adds durability.
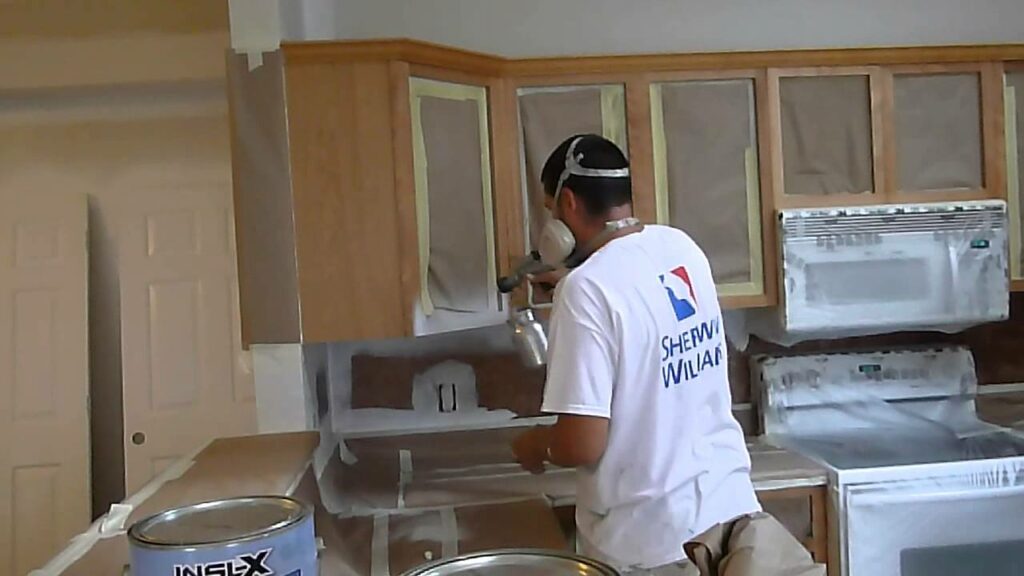
Preparing Your Kitchen for Spray Painting
Thorough preparation is essential for a successful spray painting project.Follow these steps to get ready:
Cleaning
Remove Grease and Grime
Use a degreaser or a mixture of water and vinegar to clean all surfaces thoroughly.
Sand the Surface
Lightly sand surfaces to remove existing gloss and create a texture for better paint adhesion.
Priming
Choose the Right Primer
Select a primer that matches your spray paint type (e.g., oil-based primer for enamel spray paint).
Apply Primer Evenly
Use a spray primer to ensure an even coat across the surface.
Protecting Surroundings
Cover Floors and Countertops
Protect areas not being painted with drop cloths or plastic sheeting.
Tape Off Edges
Use painter’s tape to mask off edges, hardware, and any areas you don’t want to paint.
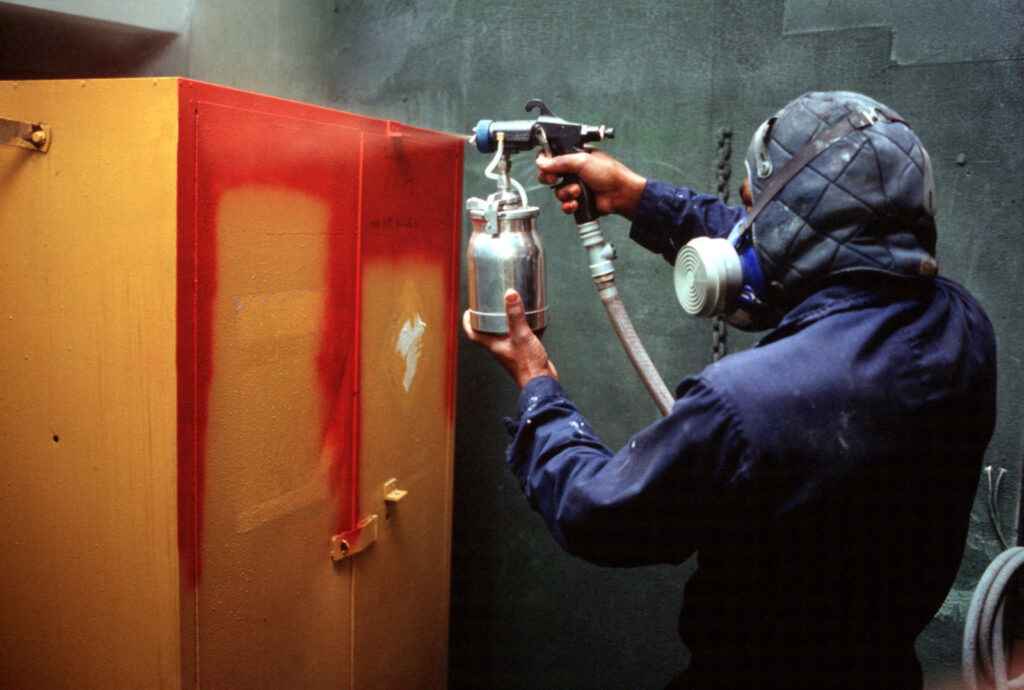
Step-by-Step Guide to Spray Painting Your Kitchen
Step 1: Gather Your Supplies
Spray paint
Primer
Sandpaper
Cleaning supplies
Painter’s tape
Drop cloths
Respirator mask
Step 2: Set Up Your Work Area
Ventilation
Make sure the area is properly ventilated to prevent inhaling fumesOpen windows and use fans as needed to improve air circulation.
Lighting
Good lighting helps you see the surface clearly and ensures even application.
Step 3: Apply Primer
Shake Primer Can
Shake well to ensure an even distribution of the primer.
Spray Primer Evenly
Hold the can about 12 inches from the surface and apply in a sweeping motion.
Allow Drying Time
Allow the primer to dry based on the manufacturer’s guidelines.
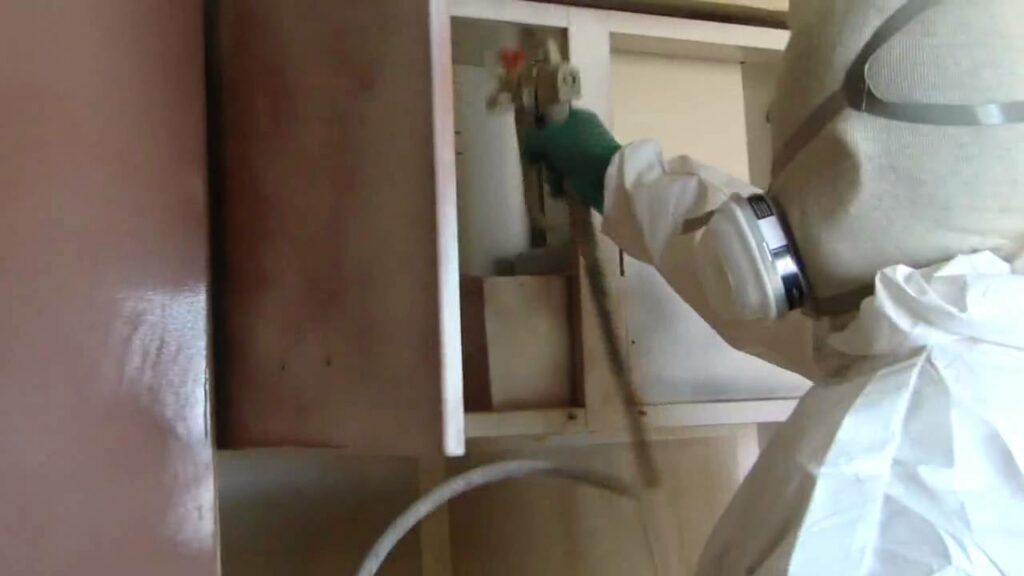
Step 4: Apply Spray Paint
Shake Paint Can
Shake the paint thoroughly before use.
Test Spray
Perform a test spray on a piece of cardboard to check the spray pattern.
Apply First Coat
Hold the can about 12 inches from the surface and apply the paint in a steady, sweeping motion.
Drying Time
Let the first coat dry completely.
Apply Additional Coats
Repeat the process, applying additional coats as needed for full coverage and depth of colour.
Step 5: Finishing Touches
Inspect for Touch-Ups
Look for any missed areas or uneven spots and touch up as necessary.
Remove Tape
Carefully remove painter’s tape before the paint is fully dry to prevent peeling.
Tips for Achieving a Professional Finish
Consistent Distance
Keep a steady distance from the surface to achieve uniform coverage.
Light Coats
Apply multiple light coats rather than one heavy coat to avoid drips and runs.
Smooth Strokes
Apply steady, even strokes to achieve a perfect finish.
Patience
Allow adequate drying time between coats to avoid smudging and uneven texture.
Common Mistakes to Avoid
Skipping Primer
Always use a primer to ensure proper paint adhesion and a smooth finish.
Rushing the Process
Take your time with each step for the best results.
Ignoring Safety
Wear a respirator mask and ensure proper ventilation to protect yourself from fumes.
Overloading the Spray Gun
Avoid overfilling the spray gun to prevent uneven application.
Maintenance and Longevity of Spray Painted Surfaces
To keep your spray-painted kitchen looking fresh, follow these maintenance tips:
Regular Cleaning
Wipe down surfaces with a damp cloth to remove dust and grease.
Avoid Harsh Chemicals
Use mild cleaning agents to avoid damaging the paint.
Touch-Up as Needed
Keep a small amount of leftover paint for any necessary touch-ups.
Frequently Asked Questions (FAQs)
Q: Can I use spray paint on any surface in my kitchen?
A:Spray paint can be used on various surfaces, including wood, metal, and laminate. However, ensure you select the appropriate type of paint for each surface to achieve the best results.
Q: How long does spray paint last on kitchen surfaces?
A:With proper preparation and maintenance, spray paint can last several years. Regular cleaning and careful handling will help extend its lifespan.
Q: Is it necessary to use a primer before applying spray paint?
A:Yes, using a primer is essential to ensure the spray paint adheres well and provides a smooth, even finish.
Q: Can I spray paint over existing paint?
A:Yes, you can spray paint over existing paint, but make sure to sand and prime the surface first to ensure proper adhesion.
Q: How can I avoid drips and runs when spray painting?
A: Apply multiple light coats rather than one heavy coat and maintain a consistent distance from the surface to prevent drips and runs.
Q: Can I spray paint my kitchen countertops?
A:While it’s possible to spray paint countertops, it’s not the most durable option for high-traffic areas. Consider using specialised countertop refinishing products instead.
Q: How do I clean spray-painted kitchen cabinets?
A:Clean spray-painted cabinets with a damp cloth and mild cleaning agents.Steer clear of harsh cleaners that may damage the paint.
Q: Can I change the colour of my kitchen cabinets with spray paint?
A:Yes, spray paint is an excellent choice for changing the colour of your kitchen cabinets. Ensure proper preparation and use a paint designed for cabinetry.
Q: What should I do if I make a mistake while spray painting?
A:If you make a mistake, let the paint dry completely, sand the area smooth, and then reapply the paint. Patience and attention to detail are crucial for a good result.
Q: Is spray painting safe to do indoors?
A: Yes but ensure proper ventilation and wear a respirator mask to protect yourself from fumes. Follow the manufacturer’s safety guidelines for indoor use.
Conclusion
Spray painting is an excellent way to revamp your kitchen quickly and affordably. With the right preparation, tools, and techniques, you can achieve a professional-looking finish that enhances the beauty and functionality of your space. This definitive guide provides all the information you need to successfully spray paint your kitchen, from selecting the right materials to applying the paint and maintaining the results. Embrace the transformation and enjoy a refreshed kitchen that reflects your style and creativity.