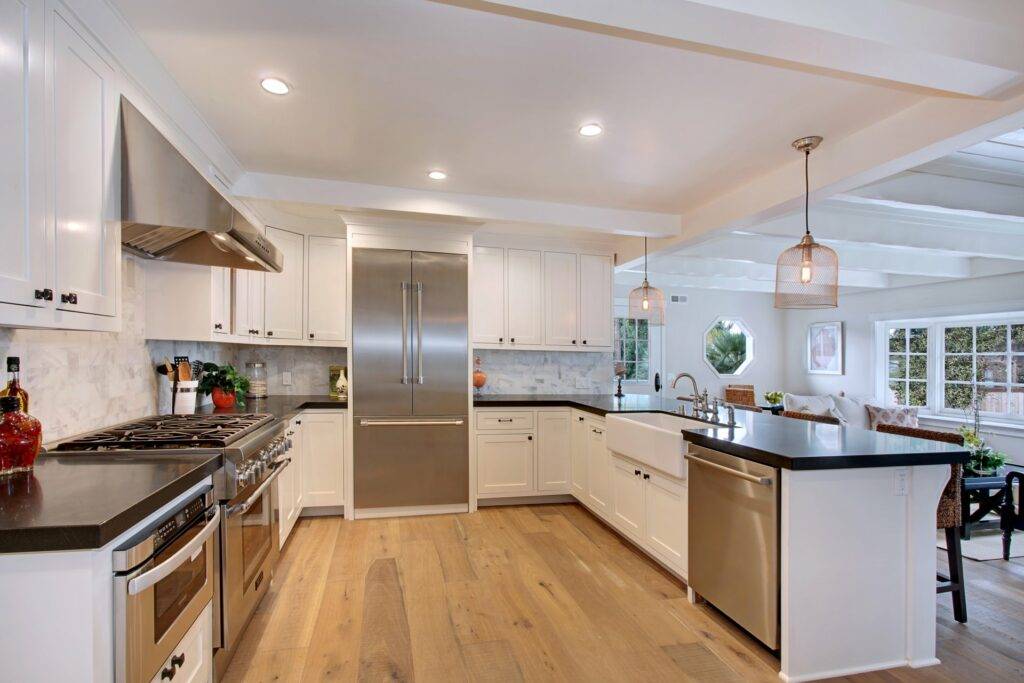
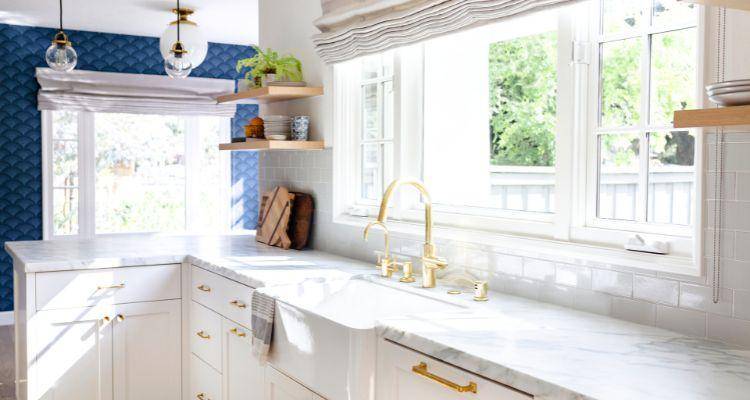
Updating your Cabinet Spraying Techniques can be a costly and time-consuming endeavor. However, one of the most effective and affordable ways to give your kitchen a fresh, new look is by spraying your cabinets. This technique can provide a professional, factory-like finish that will make your cabinets look brand new. In this article, we’ll delve into the dehttps://kitchen-spraying.com/tails of cabinet spraying, including the benefits, necessary preparations, step-by-step instructions, and some expert tips to ensure a flawless finish.
The Benefits of Spraying Your Kitchen Cabinets
1. Cost-Effective
Spraying your kitchen cabinets is significantly less expensive than replacing them. New cabinets can cost thousands of dollars, while spraying them can achieve a similar effect at a fraction of the cost.
2. Professional Finish
When done correctly, sprayed cabinets have a smooth, even finish that is difficult to achieve with a brush or roller. This method can make your cabinets look like they came straight from the factory.
3. Variety of Colors and Finishes
With spraying, you have the freedom to choose from an endless array of colors and finishes. Whether you prefer a glossy, matte, or satin finish, spraying can accommodate your preference.
4. Quick Transformation
Cabinet Spraying Techniques can be a relatively quick process, especially compared to the time it takes to install new cabinets. In a matter of days, you can have a completely transformed kitchen.
5. Increased Home Value
A modern, updated kitchen can significantly increase the value of your home. Spraying your cabinets is a great way to achieve this without a full renovation.

Preparing Your Cabinets for Spraying
Preparation is key to achieving a flawless finish. Proper preparation ensures that the paint adheres well and that the final result is smooth and professional.
1. Remove Cabinet Doors and Hardware
Start by removing all cabinet doors, drawers, and hardware (handles, hinges, etc.). Label each door and drawer to ensure they go back in the correct place.
2. Clean Thoroughly
Clean all surfaces thoroughly to remove grease, grime, and dirt. Use a degreaser or a mixture of warm water and dish soap. This step is crucial because any residue left on the surface can prevent the paint from adhering properly.
3. Sand the Surfaces
Lightly sand all surfaces to create a smooth, even base for the paint. Use a fine-grit sandpaper (220 grit is ideal) to remove the existing finish and rough up the surface slightly. After sanding, wipe down the surfaces with a damp cloth to remove any dust.
4. Fill Holes and Cracks
Inspect the cabinets for any holes, cracks, or imperfections. Use wood filler to fill in any gaps and smooth them out with sandpaper once the filler is dry.
5. Prime the Cabinets
Applying a primer is essential for achieving a professional finish. Choose a high-quality primer suitable for your cabinet material (wood, laminate, etc.). Apply the primer evenly and allow it to dry completely before proceeding.
Spraying Your Cabinets: Step-by-Step Guide
Now that your cabinets are prepped and ready, it’s time to start spraying. Follow these steps for a flawless finish:
1. Choose the Right Equipment
Invest in a high-quality paint sprayer designed for cabinetry. HVLP (High Volume Low Pressure) sprayers are ideal for this type of project because they provide a fine, even mist of paint, reducing the risk of drips and runs.
2. Select the Right Paint
Choose a paint specifically designed for cabinets. These paints are typically more durable and resistant to chipping and wear. Water-based acrylic paints are a popular choice because they dry quickly and emit fewer fumes.
3. Set Up a Spray Booth
Create a spray booth to contain overspray and protect your surroundings. Use plastic sheeting to cover walls, floors, and any nearby furniture. Ensure the area is well-ventilated and wear a mask to protect yourself from inhaling paint fumes.
4. Practice Your Technique
Before spraying the cabinets, practice on a piece of cardboard or scrap wood. Hold the sprayer about 6-12 inches away from the surface and use smooth, even strokes. Move the sprayer in a consistent motion to avoid uneven coverage.
5. Spray the Cabinet Frames
Start by spraying the cabinet frames. Apply a light, even coat of paint, overlapping each pass slightly to ensure full coverage. Allow the first coat to dry completely before applying a second coat. Multiple thin coats are preferable to one thick coat, as this reduces the risk of drips and ensures a smoother finish.
6. Spray the Doors and Drawers
Once the frames are done, move on to the doors and drawers. Lay them flat on a protected surface and spray them in the same manner as the frames. Be sure to spray all edges and sides for complete coverage. Allow each coat to dry completely before applying additional coats.
7. Inspect and Touch Up
After the final coat has dried, inspect your work for any imperfections. Touch up any areas as needed, using a small brush for precision.
8. Reassemble Your Cabinets
Once everything is completely dry, reattach the doors, drawers, and hardware. Use the labels you made earlier to ensure everything goes back in the correct place.
Expert Tips for a Professional Finish
1. Take Your Time
Rushing the process can lead to mistakes and a less-than-perfect finish. Allow ample time for each coat of paint to dry completely and follow each step carefully.
2. Work in a Dust-Free Environment
Dust can settle on wet paint and ruin the finish. Work in a clean, dust-free environment and avoid stirring up dust while painting.
3. Use High-Quality Materials
Investing in high-quality paint, primer, and equipment can make a significant difference in the final result. Cheap materials may not provide the same level of durability and finish.
4. Maintain a Consistent Spray Distance
Keeping the sprayer at a consistent distance from the surface ensures even coverage and reduces the risk of drips and runs.
5. Consider Using a Paint Conditioner
Paint conditioners can help extend the drying time of the paint, allowing it to level out and reduce brush marks and imperfections.
6. Use Light, Even Coats
Applying multiple light coats rather than one thick coat can prevent drips and ensure a smoother finish. It also allows for better control over the final appearance.
Conclusion
Spraying your kitchen cabinets is a cost-effective and efficient way to transform your kitchen. With the right preparation, equipment, and technique, you can achieve a professional, factory-like finish that will breathe new life into your space. Remember to take your time, work in a clean environment, and use high-quality materials for the best results. Happy painting!

