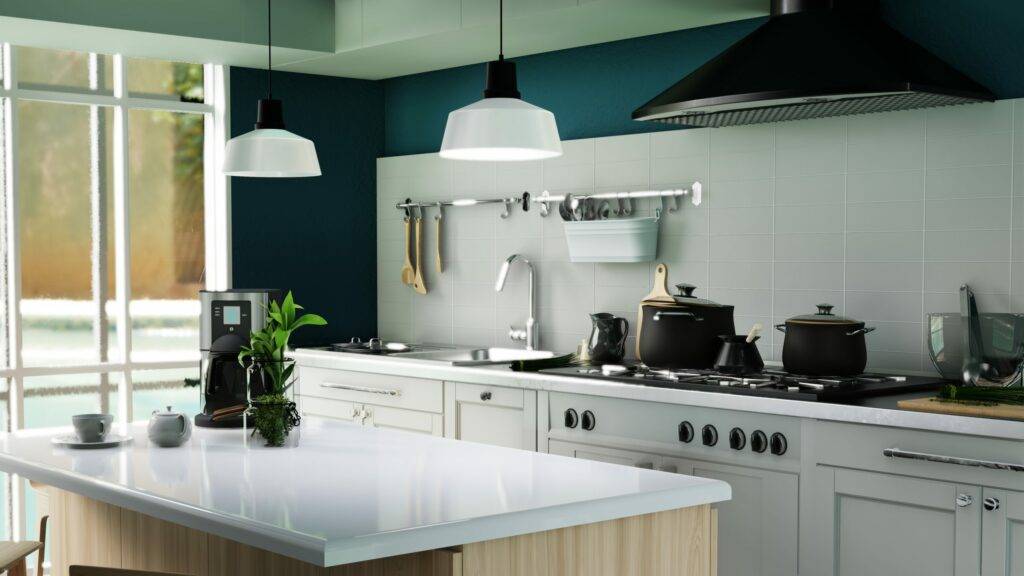
Revamping your kitchen can breathe new life into your home, and one of the most effective ways to do this is through spray painting. This modern technique offers a professional finish that can transform cabinets, appliances, and walls. With the right preparation, tools, and techniques, you can achieve a flawless, durable, and stylish kitchen finish. In this comprehensive guide, we will walk you through the steps to achieve a professional kitchen finish through spray painting.
The Advantages of Spray Painting Your Kitchen
Spray painting is gaining popularity for several reasons. Understanding these advantages can help you appreciate why it’s a worthwhile investment for your kitchen renovation:
- Smooth Finish: Spray painting provides a smooth, even finish that brushes and rollers can’t achieve. This results in a professional look that elevates the overall aesthetic of your kitchen.
- Time-Efficient: Compared to traditional painting methods, spray painting is faster. It covers large areas quickly and reduces the time needed for drying between coats.
- Versatile: Spray painting can be applied to various surfaces, including wood, metal, plastic, and laminate. This makes it ideal for cabinets, appliances, and even walls.
- Minimal Brush Marks: One of the biggest challenges with traditional painting is avoiding brush marks. Spray painting eliminates this issue, providing a consistent finish.
- Access to Tight Spaces: Spray painting allows you to reach tight corners and intricate details that are difficult to paint with a brush or roller.
Preparing Your Kitchen for Spray Painting
Proper preparation is crucial for achieving a professional finish. Here’s how to prepare your kitchen before you start spray painting:
- Clean All Surfaces: Grease, grime, and dust can prevent the paint from adhering properly. Use a degreaser to clean cabinets, appliances, and walls thoroughly. Ensure all surfaces are dry before proceeding.
- Remove Hardware: Remove cabinet doors, drawers, and hardware such as handles and hinges. Label each piece to make reassembly easier.
- Sand Surfaces: Lightly sand all surfaces to create a smooth base for the paint. This helps the primer and paint adhere better. Use fine-grit sandpaper and wipe off any dust with a damp cloth.
- Fill Imperfections: Use wood filler or putty to fill any holes, dents, or cracks. Once dry, sand the filled areas smooth.
- Mask Off Areas: Use painter’s tape and plastic sheeting to cover areas you don’t want to paint, such as countertops, floors, and adjacent walls. Proper masking is essential to avoid overspray.
- Ventilation: Ensure your workspace is well-ventilated. Open windows and use fans to circulate air and reduce fumes from the spray paint.

Choosing the Right Equipment
The quality of your spray painting project largely depends on the equipment you use. Here are some options to consider:
- HVLP (High Volume Low Pressure) Sprayers: HVLP sprayers are ideal for detailed work like cabinet doors and trim. They provide a smooth, even finish with minimal overspray.
- Airless Sprayers: These are powerful and can cover large areas quickly, making them suitable for spraying walls and large cabinets. They may produce more overspray compared to HVLP sprayers.
- Compressed Air Sprayers: These offer a fine finish and are versatile but require an air compressor. They are suitable for both small and large projects.
- Spray Paint Cans: For smaller touch-ups or DIY projects, high-quality spray paint cans can be a convenient option. They are easy to use and available in various colors and finishes.
Selecting the Right Paint
Choosing the right paint is crucial for a durable and professional finish. Here are some considerations:
- Primer: A good primer is essential for ensuring the paint adheres properly to the surface. Use a primer suitable for the material you are painting, such as wood, metal, or laminate.
- Paint Type: For kitchens, choose a paint that is durable and easy to clean. Acrylic latex paint is a popular choice for its durability and water resistance. For cabinets and appliances, consider enamel paint, which provides a hard, glossy finish.
- Finish: The finish of the paint affects both the look and durability. Glossy finishes are easy to clean and durable, making them ideal for kitchens. Matte finishes offer a modern look but can be harder to clean.
Step-by-Step Guide to Spray Painting Your Kitchen
Follow these steps to achieve a professional finish when spray painting your kitchen:
- Set Up a Spray Booth: Create a designated area for spray painting. This can be in your garage, basement, or even outdoors. Ensure the area is well-ventilated and protected from dust and debris.
- Prime the Surfaces: Apply a primer coat to ensure the paint adheres well. Use even strokes and cover all surfaces. Allow the primer to dry completely.
- Spray the First Coat: Once the primer is dry, apply the first coat of your chosen paint. Hold the sprayer at a consistent distance (typically 6-12 inches) and use smooth, overlapping strokes. Avoid overloading the paint to prevent drips.
- Sand Between Coats: After the first coat is dry, lightly sand the surfaces with fine-grit sandpaper. This helps create a smooth finish and removes any imperfections.
- Apply Additional Coats: Apply at least two more coats, sanding lightly between each coat. This ensures a durable and even finish.
- Let It Cure: Allow the final coat to cure for at least 24 hours before reassembling the cabinets and using the appliances. This ensures the paint is fully set and less prone to damage.
- Reassemble: Once everything is dry, reattach the hardware and doors. Make sure all screws are tightened securely.
Spraying Kitchen Cabinets
Kitchen cabinets are often the focal point of a kitchen renovation. Here’s how to spray paint your cabinets to achieve a professional finish:
- Remove Cabinet Doors and Drawers: Take off all cabinet doors and drawers. Label each piece to ensure they go back to their original positions.
- Clean and Sand: Clean all surfaces thoroughly and lightly sand to create a smooth base for the paint.
- Prime: Apply a primer coat to all surfaces. Use even strokes and cover all areas. Allow the primer to dry completely.
- Spray the First Coat: Apply the first coat of paint using smooth, overlapping strokes. Avoid overloading the paint to prevent drips.
- Sand Between Coats: After the first coat is dry, lightly sand the surfaces with fine-grit sandpaper.
- Apply Additional Coats: Apply at least two more coats, sanding lightly between each coat.
- Let It Cure: Allow the final coat to cure for at least 24 hours before reassembling the cabinets.
- Reattach Hardware and Doors: Once everything is dry, reattach the hardware and doors.
Spraying Kitchen Appliances
Spraying kitchen appliances can be a cost-effective way to update their appearance. Here’s how you can do it:
- Clean Thoroughly: Appliances must be free from grease, dust, and dirt. Use a degreaser and a scrub brush to clean all surfaces.
- Mask Off Areas: Use painter’s tape to mask off areas that shouldn’t be painted, such as control panels and logos. Cover adjacent countertops and floors with plastic sheeting.
- Sand Lightly: Lightly sand the surface of the appliances to create a rough texture for the paint to adhere to. Wipe off any dust with a damp cloth.
- Prime: Apply a primer suitable for metal surfaces. This ensures better adhesion and durability of the paint. Allow it to dry completely.
- Spray the Paint: Apply the spray paint in thin, even coats. Hold the sprayer at a consistent distance and use smooth, overlapping strokes. Avoid overloading the paint to prevent drips.
- Multiple Coats: Apply at least two to three coats, allowing each coat to dry before applying the next. This ensures a smooth and even finish.
- Let It Cure: Allow the final coat to cure for at least 24 hours before using the appliances. This ensures the paint is fully set and resistant to heat and wear.
Spraying Kitchen Walls
Spray painting walls can provide a smooth and even finish that rollers and brushes can’t achieve. Here’s how to do it:
- Prepare the Room: Remove furniture and cover floors, countertops, and any fixtures with plastic sheeting. Mask off edges and trim with painter’s tape.
- Clean and Sand: Clean the walls thoroughly and lightly sand to create a smooth base for the paint.
- Prime: Apply a primer coat to ensure the paint adheres well. Use even strokes and cover all surfaces. Allow the primer to dry completely.
- Spray the First Coat: Apply the first coat of your chosen paint using smooth, overlapping strokes. Hold the sprayer at a consistent distance from the wall.
- Sand Between Coats: After the first coat is dry, lightly sand the surface with fine-grit sandpaper.
- Apply Additional Coats: Apply at least two more coats, sanding lightly between each coat. This ensures a durable and even finish.
- Let It Cure: Allow the final coat to cure for at least 24 hours before removing the masking tape and plastic sheeting.

