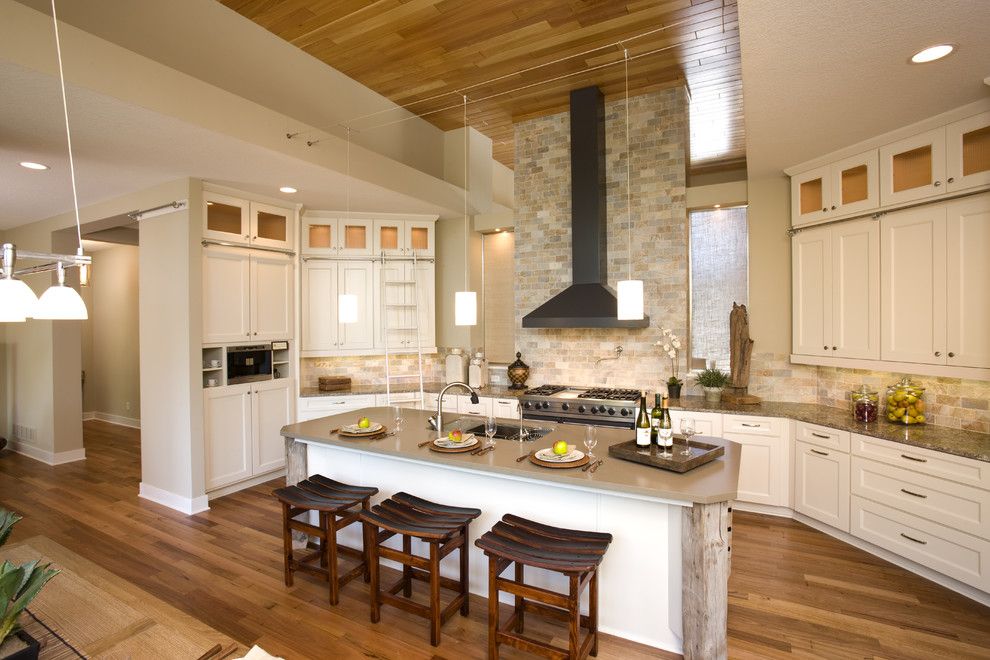
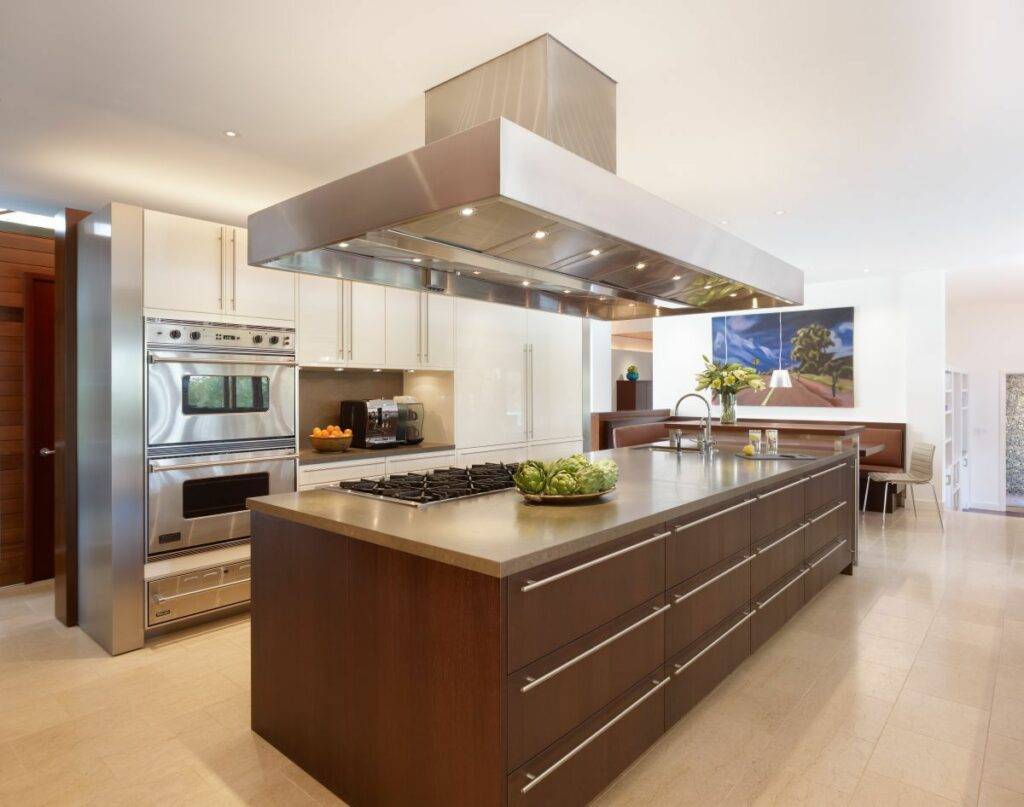
A kitchen makeover can breathe new life into your home, making it more inviting and functional. One of the most effective and economical ways to achieve this transformation is through kitchen spraying service on site. This method involves applying a fresh coat of paint to your kitchen cabinets using a spray gun, which can significantly enhance their appearance and durability. In this comprehensive guide, we’ll explore the tips and tricks to ensure your kitchen spraying project is a success.
Introduction to Kitchen Spraying Service
Kitchen spraying service is a modern painting technique that uses a spray gun to apply paint or finish to surfaces. This method offers a smooth, even coating that is difficult to achieve with traditional brushes or rollers. Kitchen spraying is particularly popular for cabinets, as it provides a factory-like finish that can dramatically update the look of your kitchen.
Why Opt for Kitchen Spraying?
Cost-Effective: Compared to replacing or refacing cabinets, kitchen spraying is a budget-friendly option that can achieve similar results at a fraction of the cost.
Time-Saving: Spraying is faster than traditional painting methods. Once the preparation is complete, the actual spraying process can be done quickly.
Professional Finish: A spray gun delivers a fine mist of paint, resulting in a smooth, even finish without brush strokes or roller marks.
Versatile: You can choose from a wide range of colors and finishes to match your kitchen’s aesthetic.
Eco-Friendly: By updating your existing cabinets instead of replacing them, you’re reducing waste and promoting sustainability.
Preparing for Your Kitchen Spraying Makeover
Preparation is key to achieving a flawless finish. Proper prep work ensures that the paint adheres well and lasts longer.
Planning and Gathering Materials
Before you start, plan your project thoroughly. Here’s a checklist of materials you’ll need:
Spray Gun: An HVLP (High Volume Low Pressure) sprayer is recommended for a fine finish.
Paint: Choose a high-quality paint suitable for kitchen cabinets. Acrylic enamel or latex paint is ideal.
Primer: A good primer is essential for adhesion and durability.
Sandpaper: Various grits for sanding (80, 120, 220).
Cleaning Supplies: Degreaser, sponge, and cloth.
Masking Tape and Plastic Sheeting: To protect areas from overspray.
Drop Cloths: To cover floors and countertops.
Screwdriver: For removing cabinet doors and hardware.
Wood Filler: For repairing any imperfections.
Protective Gear: Gloves, mask, and goggles.
Removing Cabinet Doors and Hardware
Remove all cabinet doors, drawers, and hardware. Label each piece to ensure you can easily reassemble them later. This step is crucial as it allows you to spray each component evenly and thoroughly.
Cleaning the Surfaces
Clean all surfaces with a degreaser to remove any grease, dirt, and grime. Kitchens can accumulate a lot of residues, and a clean surface is essential for the paint to adhere properly.
Sanding
Sanding is a critical step that helps the primer and paint adhere to the surface. Start with medium-grit sandpaper (80-120 grit) to remove the old finish and smooth out any imperfections. Finish with fine-grit sandpaper (220 grit) to create a smooth surface. Wipe down the surfaces with a damp cloth to remove dust.

Filling Holes and Imperfections
Inspect the cabinets for any holes, cracks, or imperfections. Fill these with wood filler and let it dry completely. Sand the filled areas until smooth.
Masking and Covering
Use masking tape and plastic sheeting to protect areas that you don’t want to be painted, such as walls, floors, and countertops. Cover everything thoroughly to prevent overspray.
Choosing the Right Paint and Primer
Selecting the right paint and primer is crucial for a durable and attractive finish.
Primer
A primer is essential for preparing the surface and ensuring the paint adheres properly. Choose a primer that is compatible with your paint type. For kitchen cabinets, a bonding primer or a high-adhesion primer is recommended. Apply the primer in thin, even coats and allow it to dry completely before sanding lightly with fine-grit sandpaper.
Paint
For kitchen cabinets, you need a durable paint that can withstand daily wear and tear. Acrylic enamel or latex paint is ideal as it is durable, easy to clean, and available in various finishes. Oil-based paints are also an option, but they take longer to dry and have a stronger odor.
Spraying Techniques for a Professional Finish
Setting Up the Spray Gun
Follow the manufacturer’s instructions to set up your spray gun. Ensure that it is clean and properly adjusted. Practice on a piece of cardboard or scrap wood to get a feel for the spray pattern and adjust the settings as needed.
Priming
Start by applying a thin coat of primer. Hold the spray gun about 10-12 inches away from the surface and use smooth, even strokes. Overlap each pass slightly to ensure even coverage. Allow the primer to dry completely before applying a second coat if necessary. Lightly sand the primed surfaces with fine-grit sandpaper before applying the paint.
Painting
Apply the paint in thin, even coats using the same technique as for the primer. Multiple thin coats are better than one thick coat as they reduce the risk of drips and ensure a smoother finish. Allow each coat to dry completely before applying the next. Depending on the type of paint, you may need 2-3 coats for full coverage.
Finishing
After the final coat of paint has dried, inspect the surfaces for any imperfections. Lightly sand any rough spots and touch up as needed. If you desire a more durable finish, apply a clear topcoat. This will add an extra layer of protection and enhance the appearance of your cabinets.
Reassembling and Final Touches
Reattaching Doors and Hardware
Once the paint is fully cured, reattach the cabinet doors and hardware. Use the labels you created earlier to ensure everything goes back in the right place. Make sure the doors and drawers are aligned and operate smoothly.
Cleaning Up
Remove all masking tape and plastic sheeting. Clean any areas that may have been affected by overspray. Dispose of any leftover paint and materials properly.
Admiring Your Work
Take a step back and admire your newly transformed kitchen. The fresh, professional finish will make your kitchen look brand new.
Maintenance Tips for Your Sprayed Cabinets
To keep your sprayed cabinets looking their best, follow these maintenance tips:
Regular Cleaning: Wipe down cabinets regularly with a soft cloth and mild detergent. Avoid abrasive cleaners that can damage the finish.
Avoid Excess Moisture: Wipe up spills immediately and avoid hanging wet towels over cabinet doors.
Touch-Up Paint: Keep some leftover paint for touch-ups in case of chips or scratches.
Use Cabinet Protectors: Install felt pads or rubber bumpers on cabinet doors and drawers to prevent damage from slamming.
Troubleshooting Common Issues
Uneven Coverage
- Solution: Ensure even strokes and overlap each pass by 50%. Apply multiple thin coats rather than one thick coat.
Paint Runs
- Solution: Apply thinner coats and allow proper drying time between coats. Sand down any runs once dry and repaint.
Orange Peel Texture
- Solution: This can occur if the paint dries too quickly or the sprayer is too far from the surface. Adjust the distance and spray technique, and ensure proper thinning of the paint.
Peeling Paint
- Solution: Peeling can occur if the surface was not properly cleaned or primed. Ensure thorough cleaning, sanding, and priming before painting.
Conclusion
Kitchen spraying is an effective and economical way to transform the look of your kitchen. With proper preparation, the right materials, and careful technique, you can achieve a professional finish that breathes new life into your space. Whether you choose to hire a professional or tackle the project yourself, the results can be stunning, making kitchen a more enjoyable and visually appealing part of your home.
By following the tips and tricks outlined in this guide, you can confidently embark on your kitchen spraying makeover. The effort you put into preparation and execution will pay off with a beautiful, durable finish that enhances both the functionality and aesthetics of your kitchen.
Frequently Asked Questions (FAQs)
1. How long does it take to spray kitchen cabinets?
The time it takes to spray kitchen cabinets depends on the size of your kitchen and the complexity of the job. On average, it can take 3-5 days, including preparation, painting, and drying times.
2. Is it better to spray or brush kitchen cabinets?
Spraying provides a smoother, more even finish compared to brushing. It’s also faster and can reach into corners and crevices more effectively.
3. Can I spray my kitchen cabinets without removing them?
While it’s possible to spray cabinets without removing them, it’s not recommended. Removing the doors and drawers allows for better access and a more professional finish. It also prevents overspray on other kitchen surfaces.
4. What type of paint is best for kitchen cabinets?
Acrylic enamel or latex paint is best for kitchen cabinets due to their durability and resistance to moisture and stains. Oil-based paints can also be used but may have longer drying times and stronger odors.

